Servings
12
Prep Time
2 hours
Cook Time
45 minutes
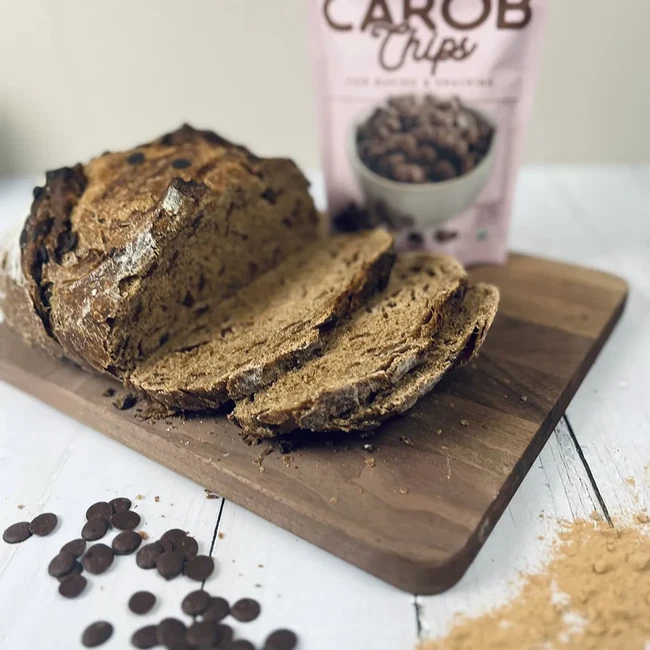
Nice and crunchy on the outside and deliciously soft on the inside with a subtle sweetness from the carob powder and chips. This is a perfect breakfast treat, especially when smothered in butter. This recipe calls for a long fermentation time, which makes the bread easier to digest, while increasing the bioavailability of the nutrients. We hope you give it a try.
Ingredients
1 ⅓ cups filtered water at room temp
½ cup active sourdough starter(bubbly and floats when a spoonful is dropped in a glass of water)
-
¼ cup coconut sugar
-
⅓ cup carob powder
-
2 tsp sea salt
3 ¾ cups organic unbleached all purpose flour (or a hard wheat flour)
-
1 cup carob chips
CAROB SOURDOUGH BREAD
Directions
CAROB SOURDOUGH BREAD
You will need an active, bubbly starter for this recipe. Feed your starter and allow it to rise at room temperature for 4-6 hours. The actual time will vary depending on different factors like the temp of your kitchen, the strength of your starter, and the ratios you feed your starter. You can start this bread in the morning and bake it in the evening or start it by no later than the afternoon and put it in the fridge to cold proof overnight.
In a medium bowl, add filtered water, active sourdough starter, coconut sugar, and carob powder and stir to incorporate all of the ingredients. The carob powder might not mix in all the way, but it will with the rest of the ingredients.
Next, mix in the sea salt and flour with a wooden spoon or dough whisk. The dough will be stiff and you will probably need to knead the dough by hand to get the flour completely incorporated.
Mix in the carob chips and cover the dough with a damp towel or plastic wrap and let rest for 30 minutes to let the flour hydrate and for the dough to relax. You can also drizzle a little bit of avocado oil or olive oil on the dough and turn in the bowl to coat completely. This helps prevent the dough from sticking to the bowl and your hands as much.
Next, do a series of stretch and folds. Grab the edge of the bread dough firmly and lift it straight up to stretch it, then fold and press it into the center of the dough. Rotate the bowl a quarter turn and do another stretch and fold, continuing for a total of 4 times. Cover and let the dough rest for 15 minutes or so. Do this a total of 4-5 times within a 2 hr time frame and you will see the dough become smoother and more elastic. It does not need to be timed perfectly. This helps to strengthen the gluten so that the bread will have a nice rise and it is easier than kneading your bread for 15 minutes straight, by hand.
After the last set of stretch and folds, cover the bowl and allow it to ferment in a warm spot on the counter at room temperature for at least 4 hrs or up to 6hrs. The dough should double in size and have a smooth top.
Lightly flour your work surface and carefully pull your dough out of the bowl, being careful not to pop the bubbles in the dough.
Shape the dough using the envelope fold, folding the bottom half of the dough up to the middle, pressing lightly to hold. Fold the top half of the dough down to the middle. Lastly, fold each side to the middle.
Turn the dough over so that the seams are facing down, and with your hands, drag the dough towards you while gently pushing the bottom of the loaf under, creating tension as the dough slightly sticks to the counter. Brush away some of the flour or shape the dough on a clean work surface if you find that your dough is sliding.
If you have a banneton basket, lift the dough into the banneton with the seam facing upwards because when you flip the dough out then the seam will be facing down. You can also use any bowl with a tea towel in it. Just place the dough in it and cover it with the edges of the towel.
Cover with a damp tea towel or a piece of plastic wrap and let the dough rise for an additional hour at room temperature or cold proof in the refrigerator. Even if you leave the dough in the fridge for a day or two it should still turn out fine.
When ready to bake, preheat your oven with the Dutch oven inside, with lid on, to 400°F/205°C for 45 minutes. If you don’t have a Dutch oven you can place your bread in a cake pan or straight onto a pizza stone. It might not rise as much without the aid of steam, but it will still taste great.
Carefully flip your dough onto a large piece of parchment paper and lightly dust the top of the loaf with flour. Using a bread lame or sharp knife, score the top of the dough with a large X in the center, giving the bread a place to expand as it bakes.
Using the parchment paper, lift the dough into the Dutch oven, quickly replacing the lid and place back into the oven. Bake for 40 minutes with the lid on, then remove the lid and bake for an additional 10 minutes. The internal temp should reach 200°F/95°C. If a sharp knife inserted in the center comes out clean it is done.
Remove the bread from the oven and Dutch oven and allow to cool completely on a wire rack. Don’t slice into it, until it has completely cooled.
Recipe Note
